Overview
Mobilogy's Diagnostics is an easy-to-use, comprehensive system, which enables the fast identification and resolution of mobile device faults in-store. This substantially reduces the need to send NFF (No Fault Found) devices to labs and repair shops, thereby minimizing costs, saving time, and improving customer service by automatically fixing many common problems on the spot.
Solution
Prerequisites
- Having access to the device's Software.
- Having the proper feature added to your license.
- To perform Diagnostic flow testing make sure the Mobilogy Now platform is connected to the Internet via the Ethernet port or the wireless connection.
Mobilogy's Diagnostics supports iOS, Android, and Windows Phone 10 systems.
Generic Diagnostics Flow
The following instructions describe a generic Diagnostics flow session. The procedure might vary depending on the tested device. The Generic Diagnostics flow runs automatic, general testing as well as specific testing for the particular device issue(s).

To diagnose a phone, please follow these steps:
1. Select Diagnostics: from the main menu select Diagnostics, until the Connect source device appears.
2. Connect the device to any USB port and once the device is connected, the Mobilogy Diagnostics Client application is automatically installed on the device.
- If you are testing an Android device, the application is launched automatically.
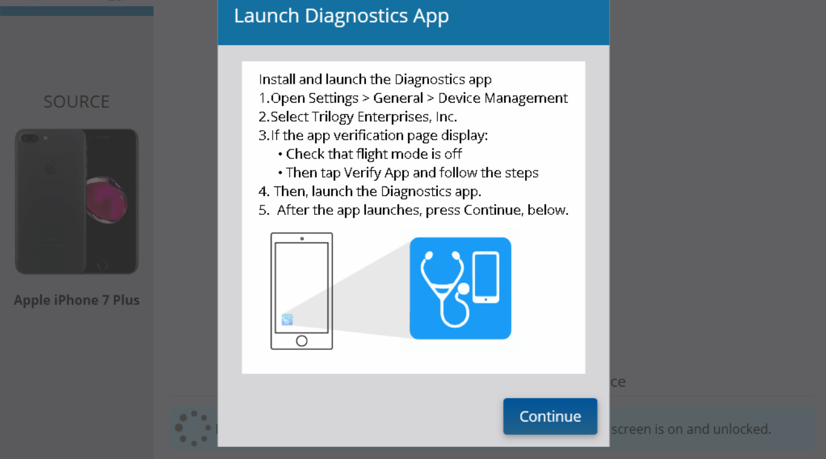
- If you are testing an iOS device, you will be instructed to launch the diagnostics client application manually.
The Check Hardware screen appears.
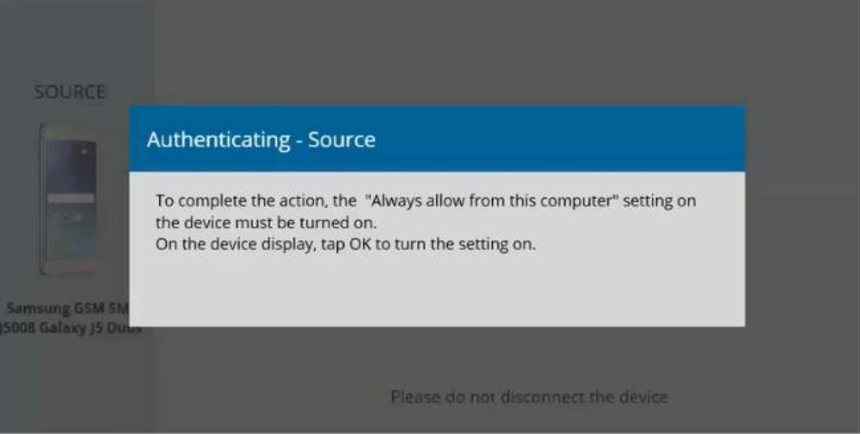
3. Prepare the device: Follow the instructions on both the Mobilogy Now application screen and the device screen, to prepare the device. These instructions may vary from device to device.

|
|
|
 |
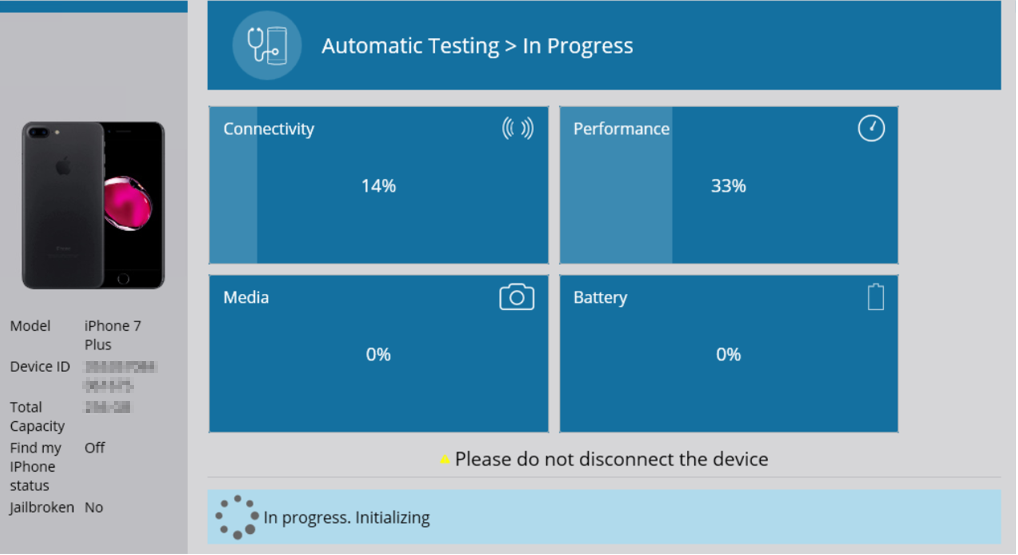
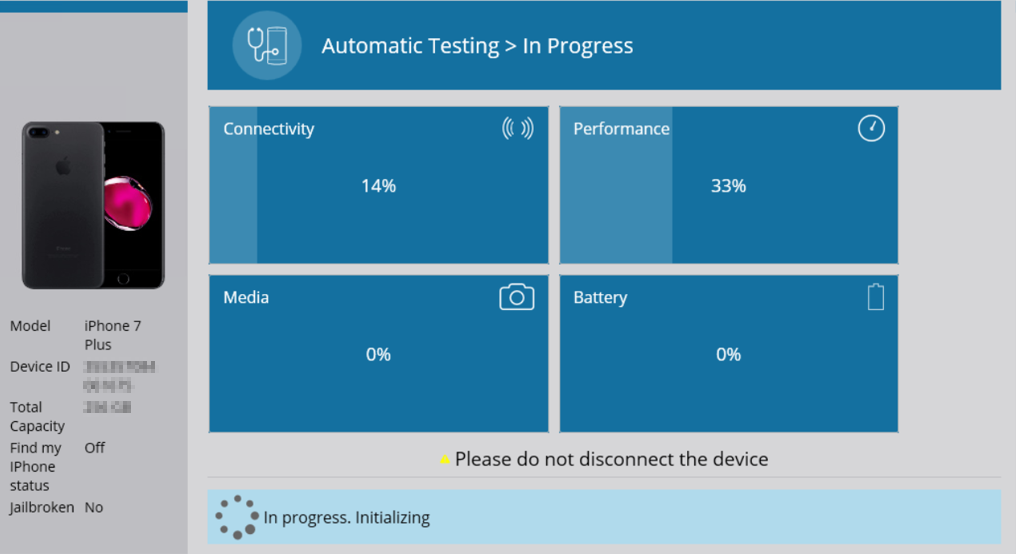
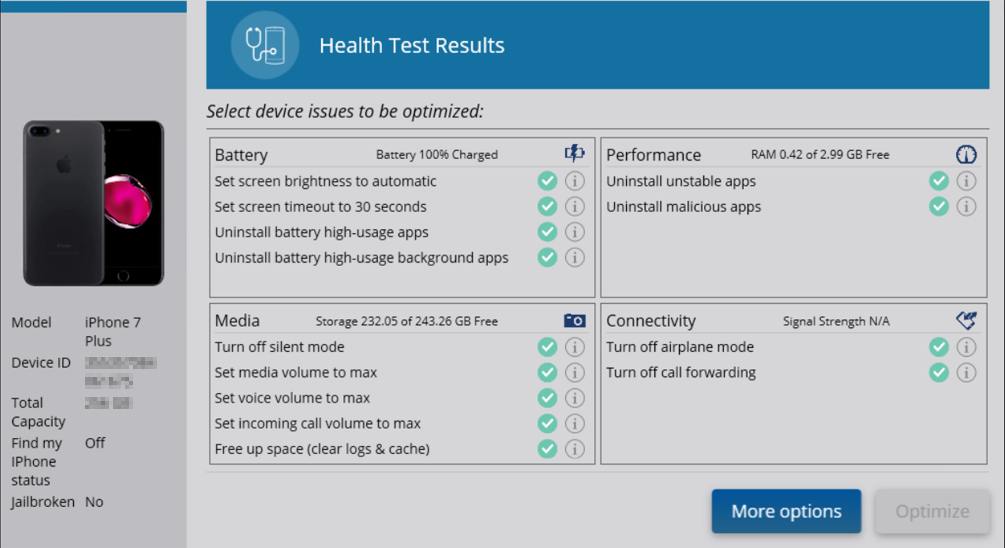
4. Preliminary testing and optimization: Using the Mobilogy Diagnostics Client application, the device information data and logs are collected and analyzed by the Diagnostics server. And, automatic preliminary tests are performed on the device.
|
 |
|
|
|
|

5. Optimize: The selected issues are then optimized, and the Automatic Testing in Progress screen reappears. The automatic tests are rerun.
|
|
|
|
|
|


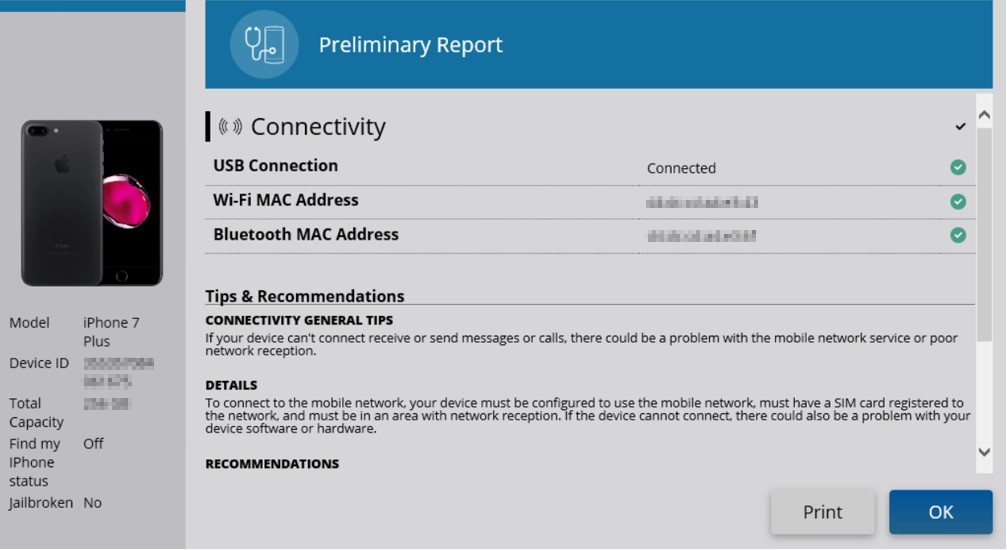
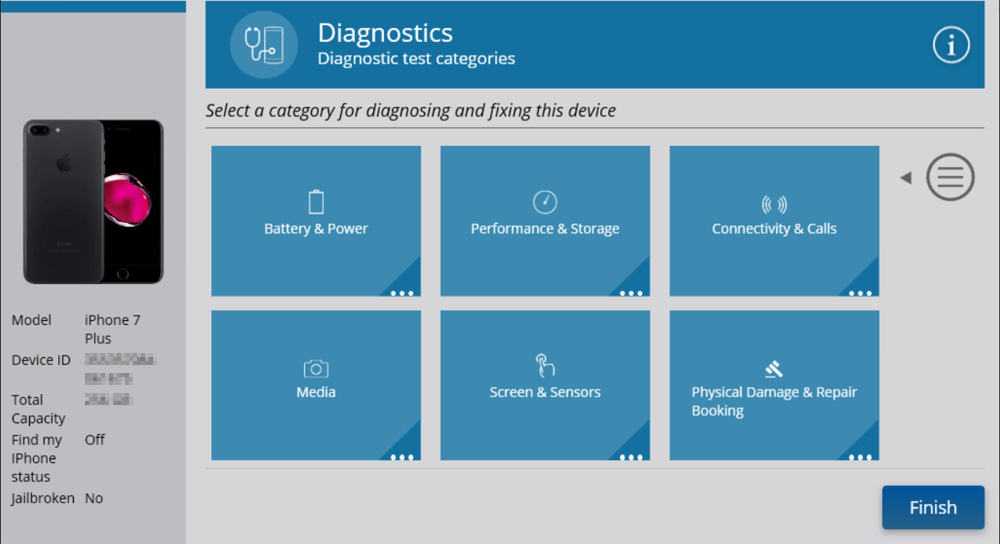
6. Test for selected issues: For example, if you choose the Connectivity & Calls category on the Diagnostic test categories screen, a list of connectivity and call issues appear. Choose an issue to run diagnostic testing.

|
|
|
|
|
|
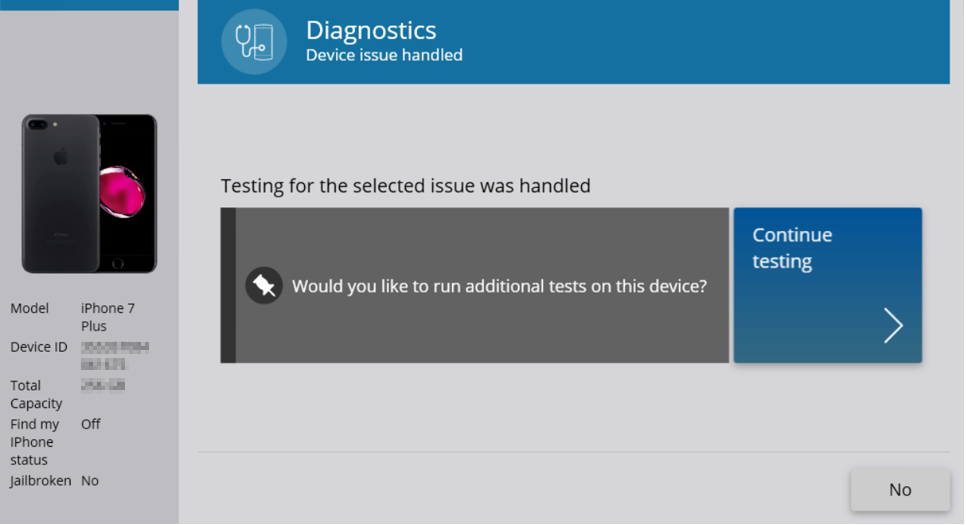
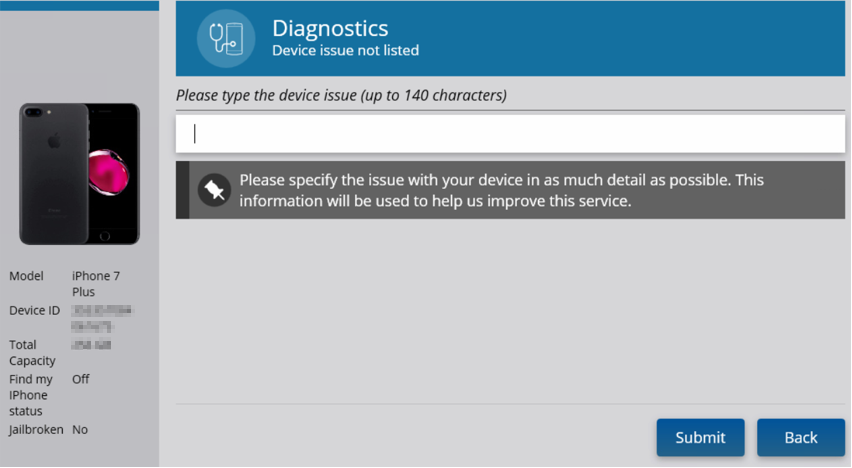
7. Continue testing: If you choose to continue the testing, select Continue Testing, the Diagnostic test categories screen reappears, and you will again be able to choose a category, and device issues for testing.
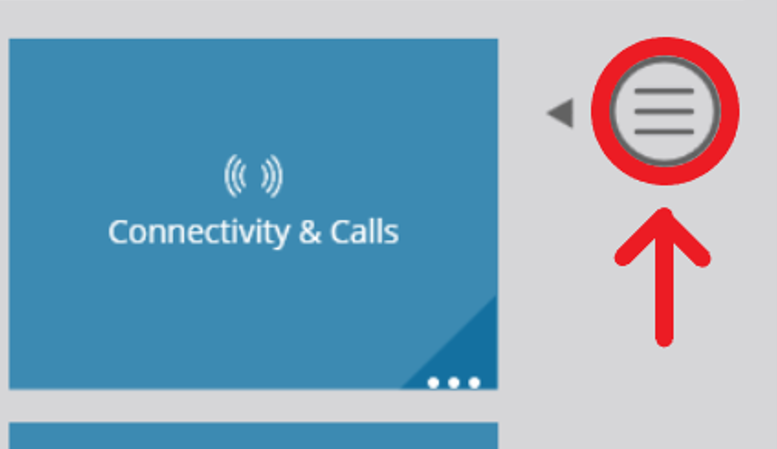
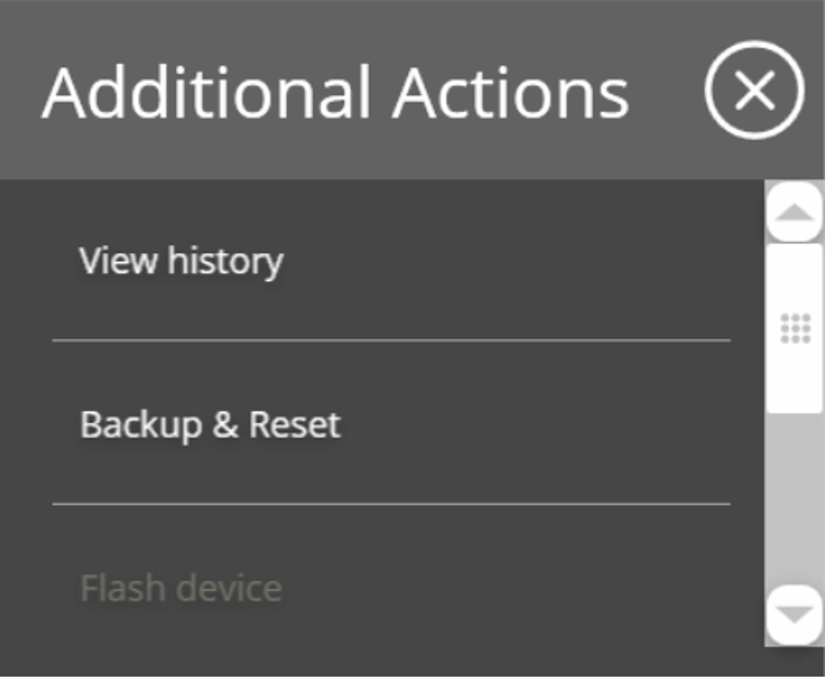
8. Additional actions: At the top right of the dashboard screen, there is an icon that provides additional options or actions that can be performed, such as:
|
|
|
|
9. Fully automatic test process: Fully automatic tests are used to test connectivity and performance issues. These tests require no user interaction and may take up to three minutes.
|
|
|
|

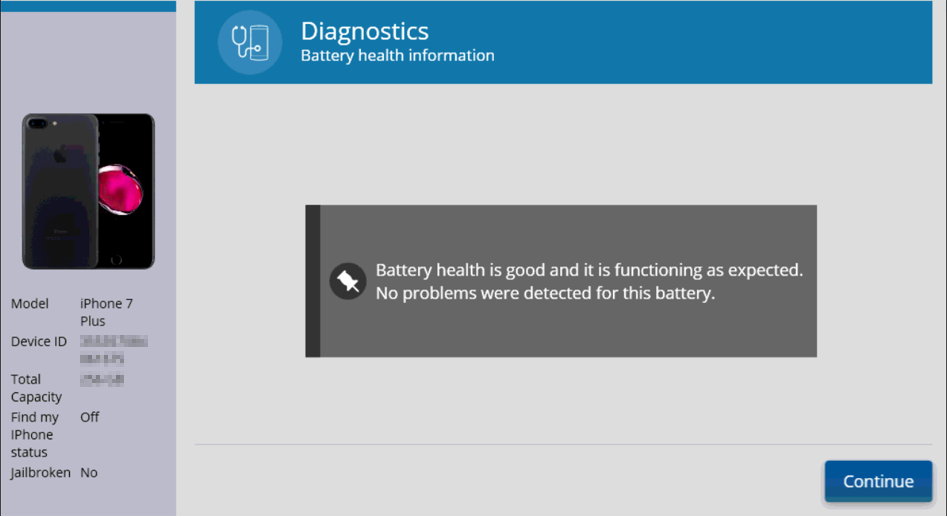
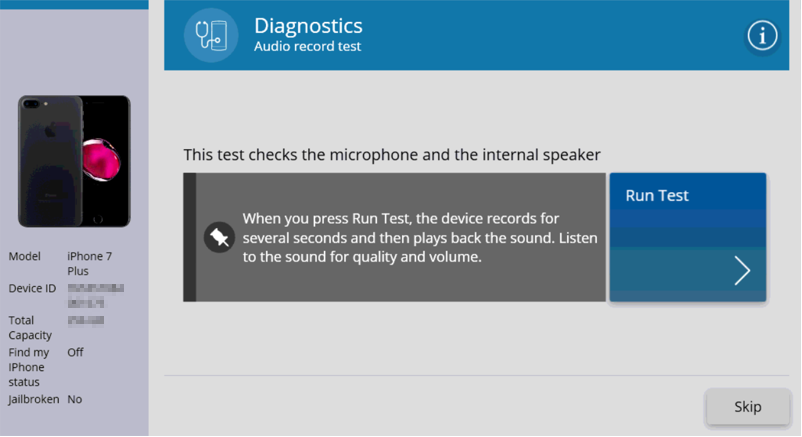
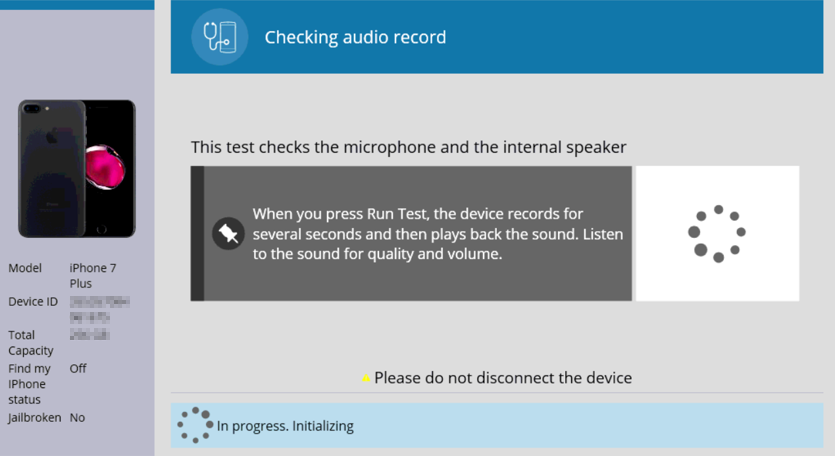
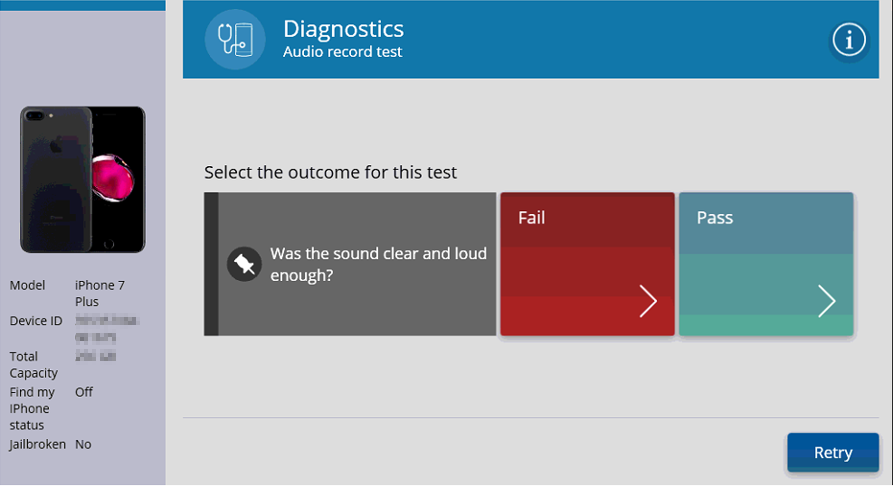
10. Semi-automatic test and repair: Semi-automatic tests are used to test various hardware components, such as camera and sound tests. These tests require user interaction.
|
|
|
|
|
|
|
11. Repair device - According to the test results, a recommended repair action will be presented. The repair actions can include the following:
- Automatic repair actions such as settings, alterations, removing harmful applications, including flash and factory reset.
- Displaying tips regarding proper device usage and best practices.
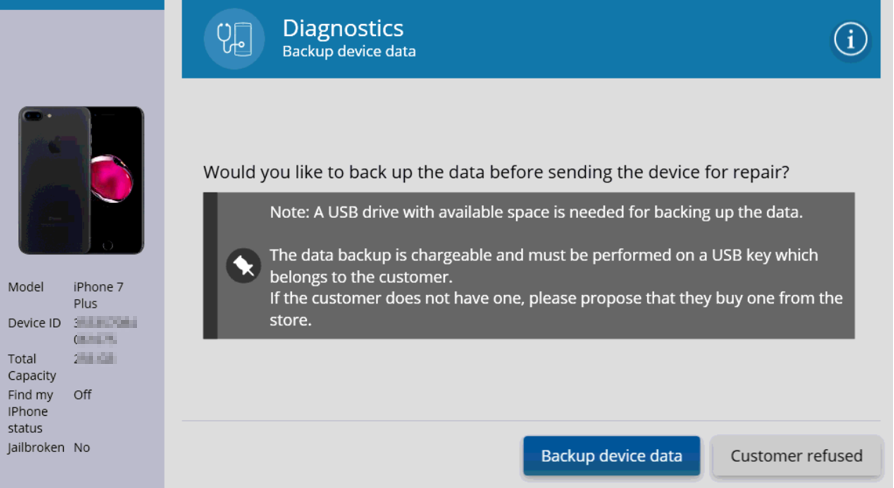
- If the device cannot be repaired on-site, there is an option to book the device for repair among the menu options.
|
|
|
|
Testing
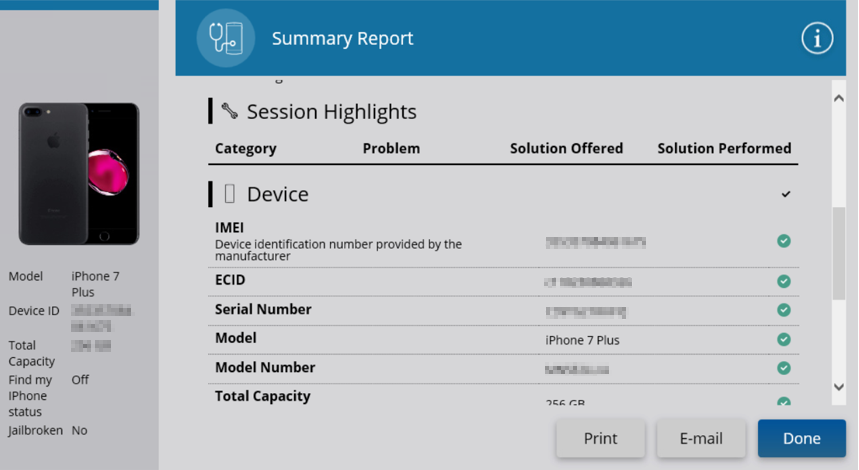
When the diagnostic is performed, the Summary report screen is displayed. You can select Print to print out the report, or E-mail to e-mail a copy of the report to the customer.
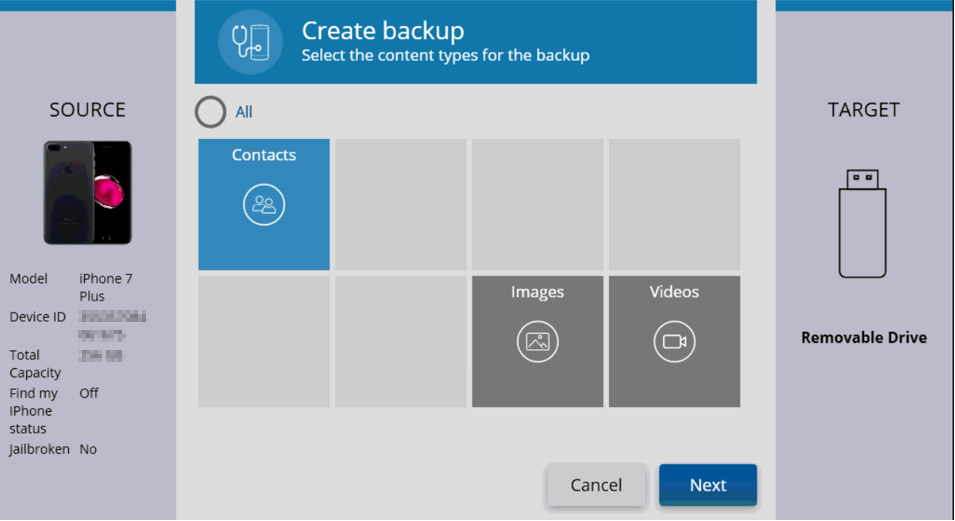
Once the device is repaired, the content can be restored using the Backing up and Restoring Phone Data KB article.
- The summary report contains device information, detected problems, solutions offered, solutions performed, and test information. Select Done to finish the diagnostics process.
- The Diagnostics client is removed from the customer's device. Upon completion, the system will return to the main menu.

Priyanka Bhotika
Comments