Overview
The Mobilogy Now Settings interface enables you to customize your device's default settings, perform manual updates, view system information, and more.
Diagnosis
This guide can be applied in the following scenario(s):
- When you want to change the language of your device.
- When you want to restrict the unauthorized access to the Settings by using the Self-Service Mode.
- When you want to enable customized options for the transactions like the estimation time or play a sound when the transactions are finished.
- When you want to connect the device through a Lan Proxy.
- When you want to extract the logs of the device using the Mobilogy software's built-in option.
Solution
Prerequisites
- Having access to the device's Software.
- Having access to the Settings tab (which means, not being blocked by the Self-Service mode)
Index
- Accessing the Settings Screen/Interface
- General Tab
- Transfer Tab
- Update Tab
- Connectivity Tab
- Support Tab
- About Tab
The following sections describe the Tabs that can be found in the Mobilogy Settings and the changes you can make in each tab:
Accessing the Settings Menu/Interface |
|
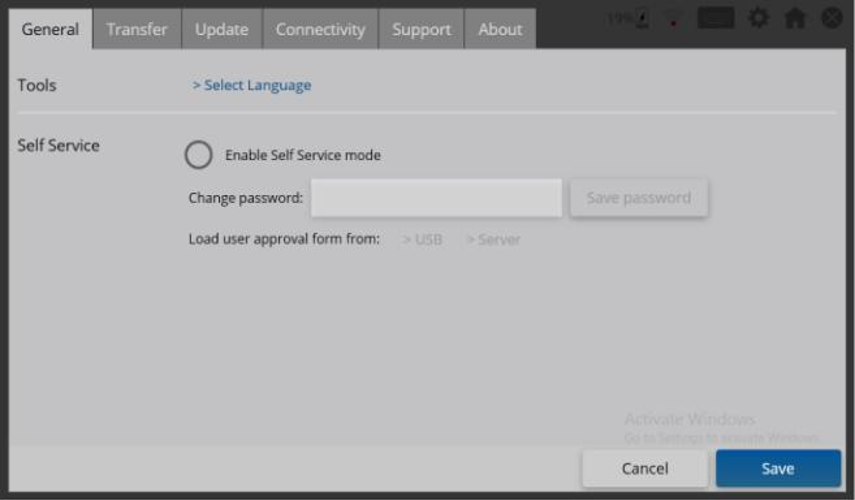
General Tab |
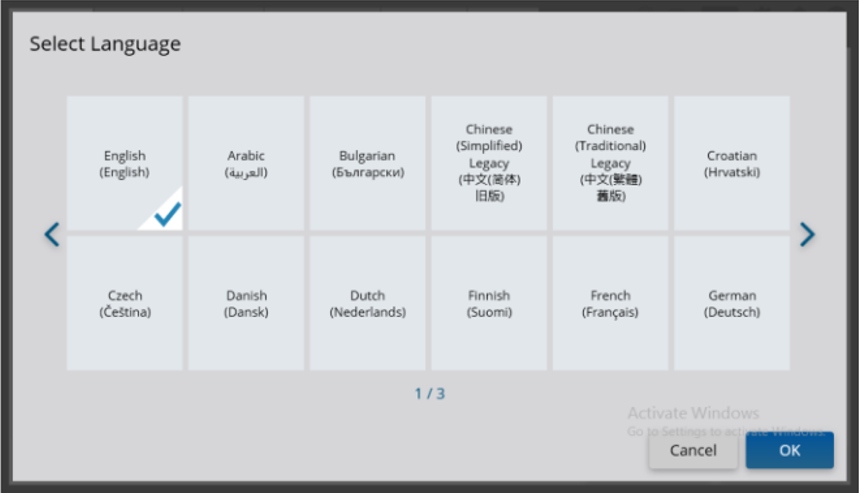
Changing the Interface Language
You can change the language of your Mobilogy Touch 2 Desktop interface and choose from more than 20 languages. To change the interface language:
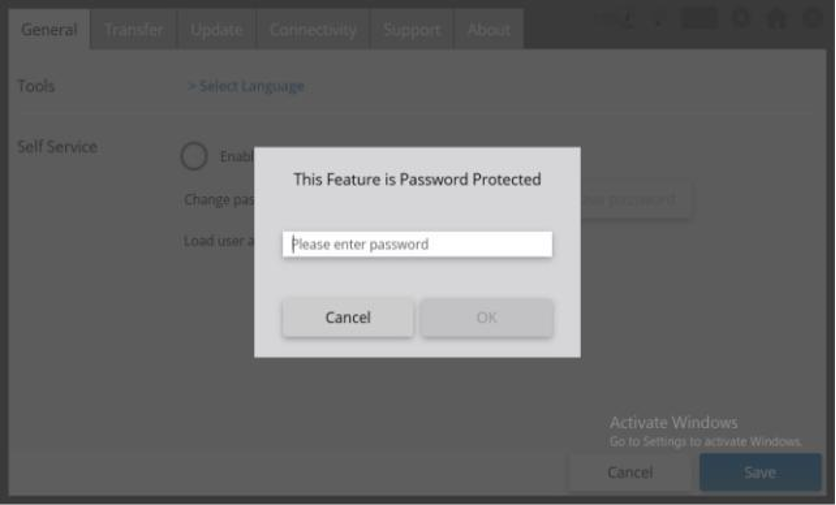
Using the Self-Service Mode
You can use the Mobilogy Now platform as a self-service station. Through password activation, the self-service mode disables unauthorized access to the settings menu and the Exit button. It also activates a homing mechanism that allows the unit to return to the Main Menu screen if no one is using the device for a set period. To configure the Self-Service mode:
|

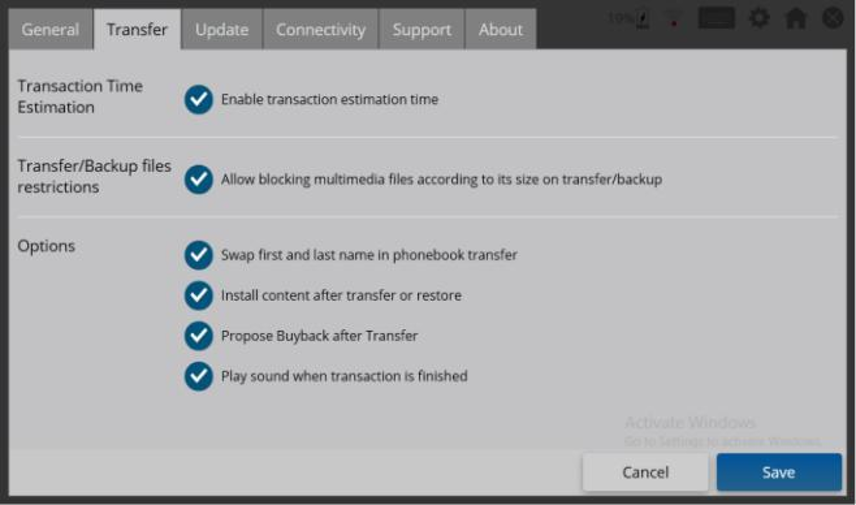
Transfer Tab |
||||||||||||||
|
You can customize the transfer options based on your needs. Transfer options may vary depending on the customer's specifications. To edit the transfer options:
|
Update Tab |
||||||||||||||
|
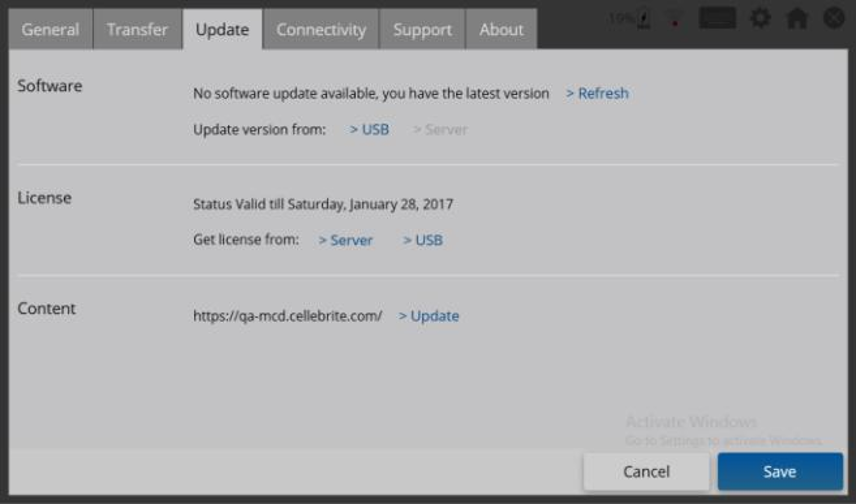
The Update tab will enable you to update the following:
Installing Software UpdatesMobilogy uses the following software packs:
Mobilogy continuously updates its software, which supports new devices from several phone vendors. The update process installs these updates on your Mobilogy platform. You can upgrade your Mobilogy software packs by using either of the following methods:
If the update fails, ensure that your network connection is working properly. For more information, please check the Updating Software to the Latest Version KB Article. Installing Licenses
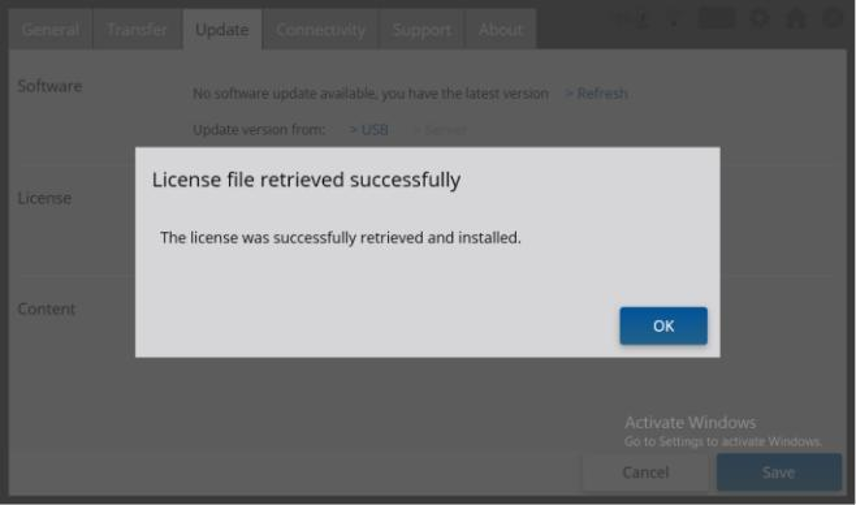
You need to install the operating license if it is your first time using the Mobilogy Now software. You also need to do the same procedure if your device went through system recovery. To install or update a license:
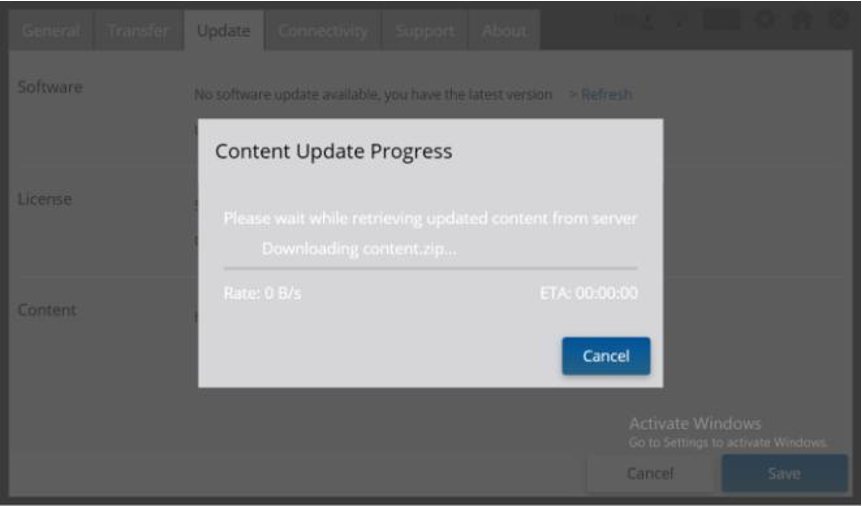
Refreshing the Apploader Content
The Mobilogy Now software automatically checks for content updates based on a predefined schedule. However, you can do a manual update in case the device is not connected to a network at the time the last update was released.
To install content updates:
|
Connectivity Tab |
|
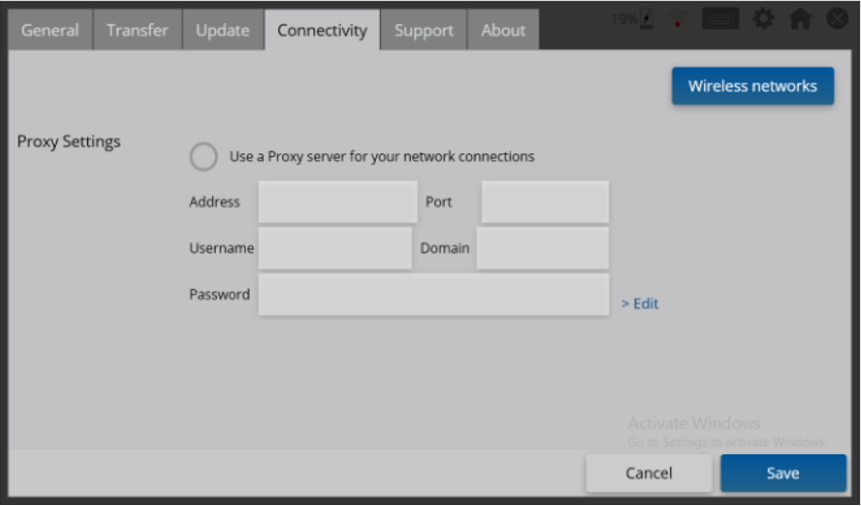
The Connectivity tab enables you to configure the Mobilogy platform's connection to the internet using a wireless network or an Ethernet LAN.
To select a Wi-Fi network:
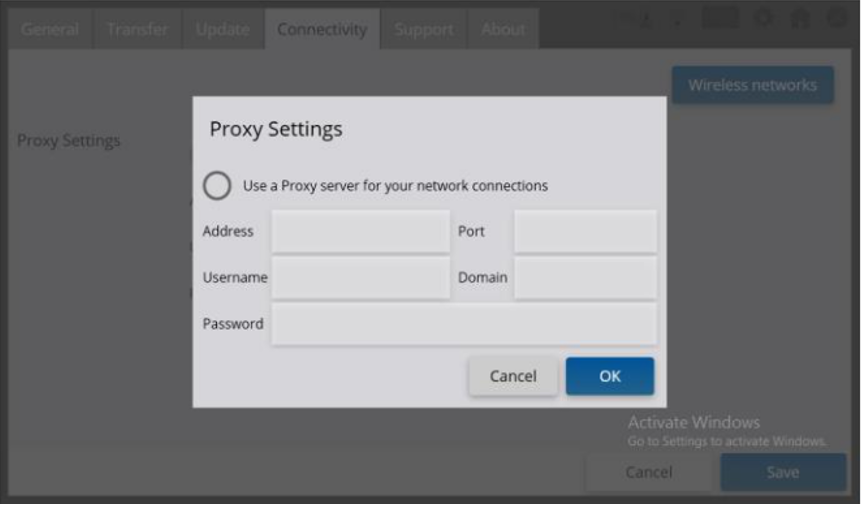
If you encounter problems while configuring the WiFi network, please check the WiFi / Wireless Network Problems KB Article. Setting a LAN Proxy
To configure your local internet proxy settings:
|

Support Tab |
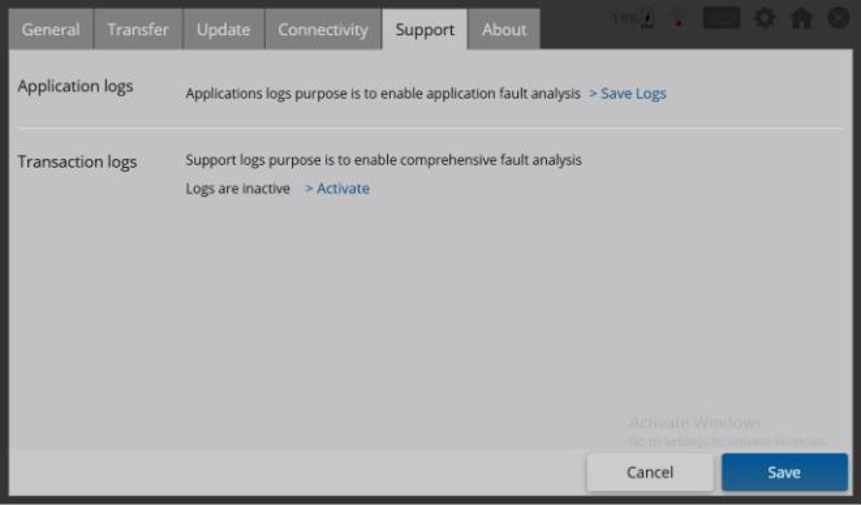
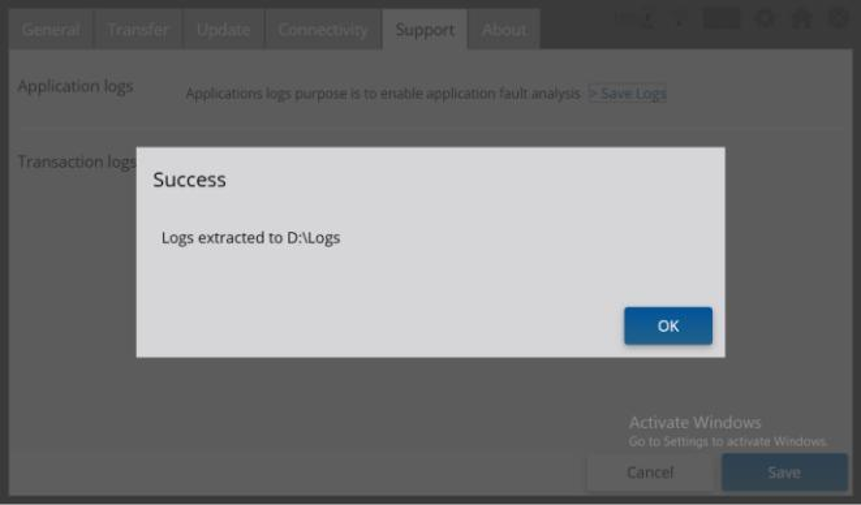
Application Logs
Application Logs are used to save operating information into a set of files that can be used by the Mobilogy Support team to troubleshoot faulty devices. To save application log files:
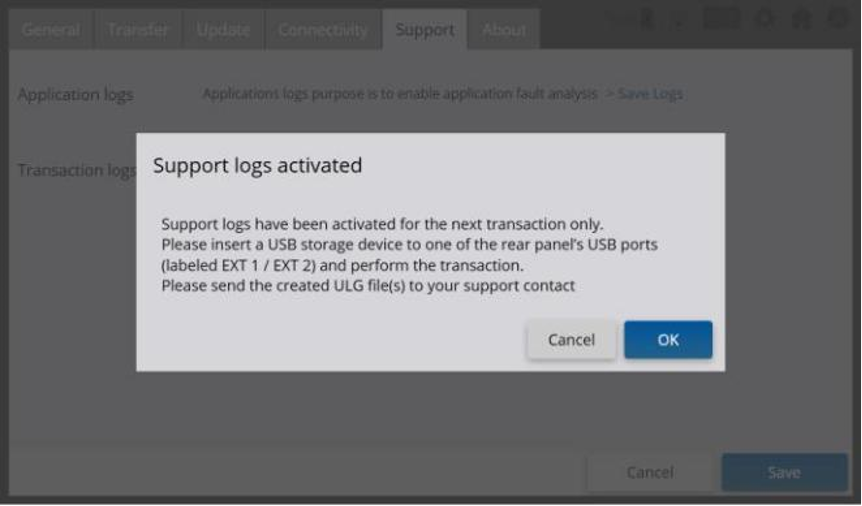
Transaction Logs
The transaction logs capture detailed information of transactions that are saved into a set of files that can be used by the Mobilogy support team to troubleshoot suspected faulty transactions (transfer, backup, restore, etc.). The transaction log must be activated before handling transactions. To save transaction log files:
A manual way to get the Log files can be found in the Obtaining the Log files KB article. |
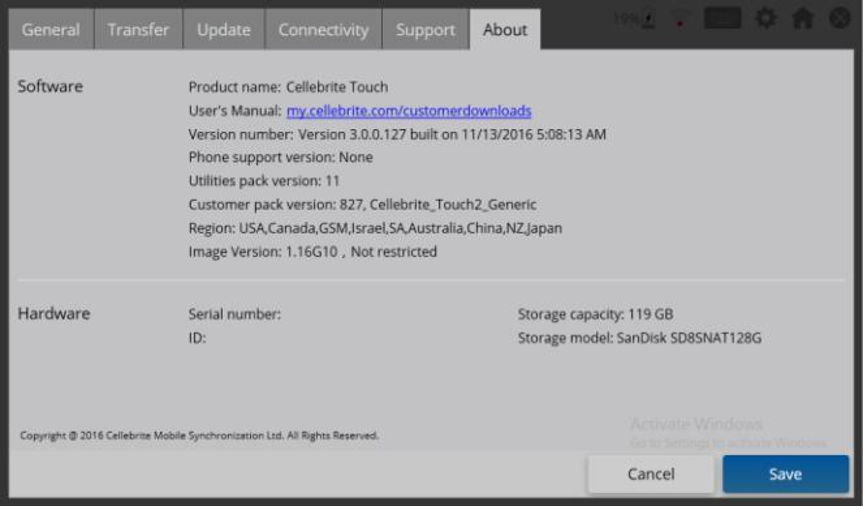
About Tab |
|
The About tab enables you to view important system information, which includes:
To view system information and the version number:
|
Testing
Whenever you change any of the properties listed on this KB article, you must click on Save button for the change to take effect immediately and you can test the modification.
If the change does not take effect immediately, please restart the Mobilogy software.
Related Articles
- Obtaining the Log files
- Enabling Mobilogy Now Internet Connection via Proxy Server
- Updating Software to the Latest Version
Priyanka Bhotika
Comments